Introduction
Curl Kale, with its lush green leaves and numerous health benefits, has become a staple in the diets of health-conscious individuals around the world. Among the many varieties of kale, curly kale stands out for its unique appearance and flavor. But how does this leafy green make its journey from seed to plate? In this article, we’ll explore the fascinating world of curly kale seeds, from planting to harvest.
The Curly Kale Seed
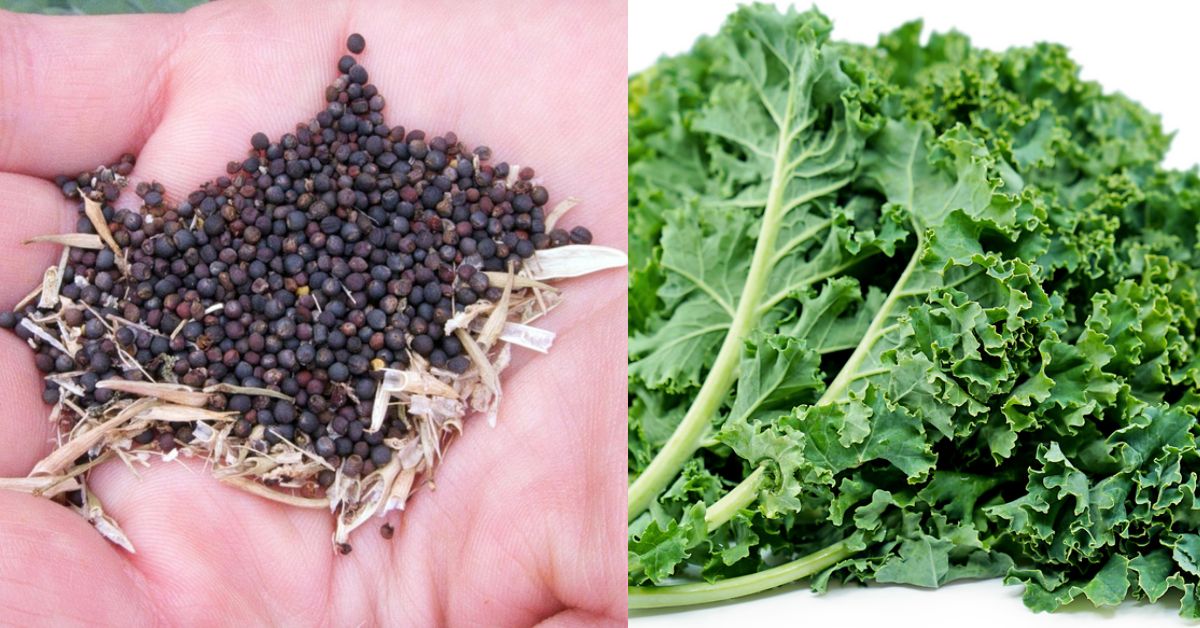
Curly kale, scientifically known as Brassica oleracea var. sabellica, belongs to the cabbage family and is characterized by its crinkly leaves. Before we delve into the planting process, it’s essential to understand the curly kale seed’s characteristics.
- Variety: Curly kale seeds come in various cultivars, each with slight variations in taste, texture, and color. Popular cultivars include Winterbor, Winter Red, and Dwarf Blue Curled.
- Hardiness: Kale is a cold-hardy plant, which means it can endure frost and cold temperatures better than many other vegetables, making it an excellent choice for fall and winter gardening.
Planting Curly Kale Seeds
- Timing: The best time to plant curly kale seeds depends on your local climate. In temperate regions, you can sow seeds directly in the garden in early spring or late summer for a fall crop. In warmer areas, consider planting kale in the fall for a winter harvest.
- Soil Preparation: Kale thrives in well-draining soil rich in organic matter. Ensure the soil pH is between 6.0 and 7.5 for optimal growth. You can amend the soil with compost or organic matter to improve its texture and nutrient content.
- Seed Sowing: Plant kale seeds 1/4 to 1/2 inch deep, spaced about 18 to 24 inches apart in rows. You can also opt for raised beds or container gardening. Sow seeds in clusters, and thin them to a single plant once they establish a few true leaves.
- Watering: Keep the soil consistently moist but not waterlogged. Kale requires regular watering, especially during dry spells.
Caring for Curly Kale
- Sunlight: Kale thrives in full to partial sunlight, receiving at least 6 hours of direct sunlight daily.
- Fertilizing: Kale is a nutrient-hungry plant. Apply a balanced fertilizer or a high-nitrogen fertilizer every 3-4 weeks to encourage leafy growth.
- Pest Control: Keep an eye out for common kale pests like aphids, cabbage worms, and slugs. Use natural or organic pest control methods to protect your plants.
- Harvesting: Curly kale can be harvested when the leaves reach a suitable size, usually around 2-4 months after planting. Harvest the outer leaves first, leaving the inner leaves to continue growing.
Curly Kale in the Kitchen
Curly kale’s versatile flavor and texture make it a popular ingredient in various culinary dishes. Here are some delicious ways to enjoy curly kale:
- Kale Chips: Toss kale leaves with olive oil and your favorite seasonings, then bake until crispy for a nutritious snack.
- Kale Smoothies: Add a handful of kale leaves to your morning smoothie for an extra boost of vitamins and minerals.
- Kale Salad: Massage kale leaves with a bit of olive oil and lemon juice to soften them, then toss with your favorite salad ingredients.
- Kale Soups and Stews: Kale adds a hearty, nutritious element to soups and stews. Simply chop and add it to your favorite recipes.
Conclusion
The journey of a curly kale seed from planting to plate is a rewarding one. With proper care and attention, you can cultivate this nutritious green in your garden and enjoy its unique flavor and health benefits in a variety of culinary creations. Whether you’re a seasoned gardener or a beginner, curly kale is a fantastic addition to any home garden, offering both visual appeal and nutritional value.


